Note:
firenze.admin.physics.ucsb.edu,
aztek.admin.physics.ucsb.edu, cannedheat.inst.physics.ucsb.edu are the
current 3 Xerox 4150 printers available. Substitute the name of the
printer you are trying to setup in for firenze.
Step one is to download the correct driver for your operating system from
this xerox support and driver website
double click on the downloaded file and you will be prompted to extract the drivers to a folder. Do so to C:\drivers\printer\Xerox4150
once you have downloaded the driver you want extract them somewhere on your hard drive
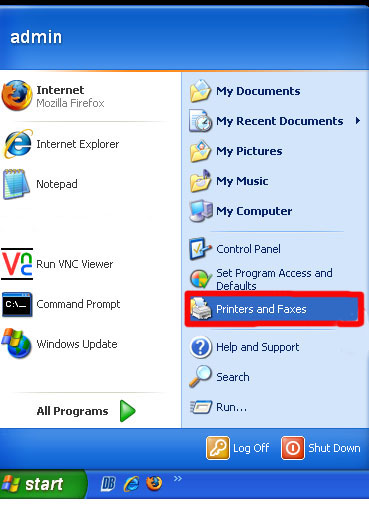
then click on the start menu and go to printers and faxes
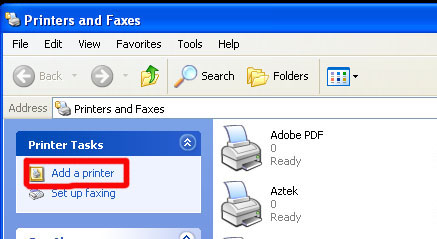
click add a printer and a window should pop up on your screen.
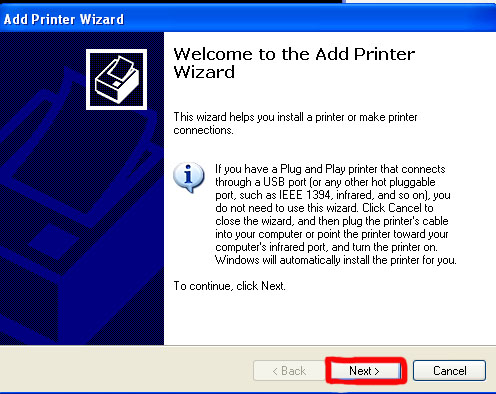
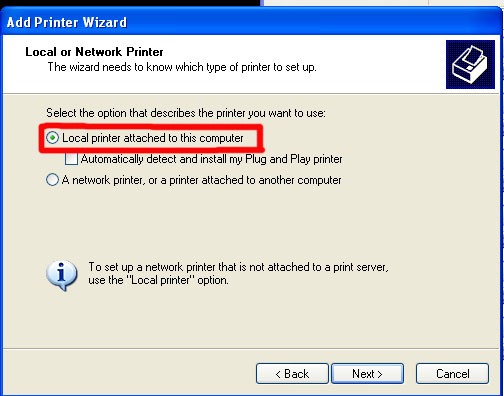
click next and check that you are looking for a local printer and click next again
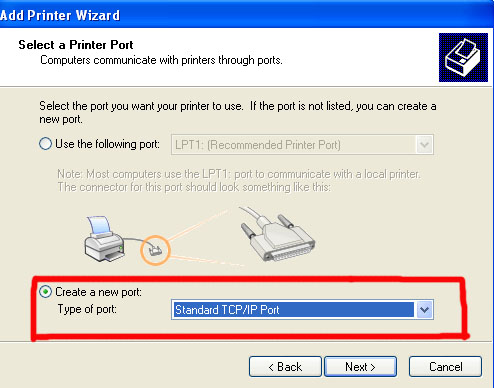
check the button to create a new port and use the pull down menu to select Standard TCP/IP Port and click next again
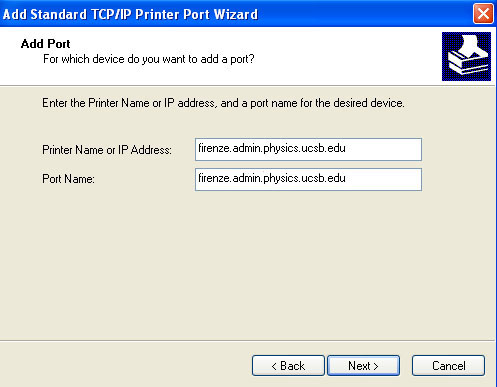
another window should open in your screen to add a TCP/IP port. click next
for printer name put firenze.admin.physics.ucsb.edu and for port name put firenze.admin.physics.ucsb.edu and then click next
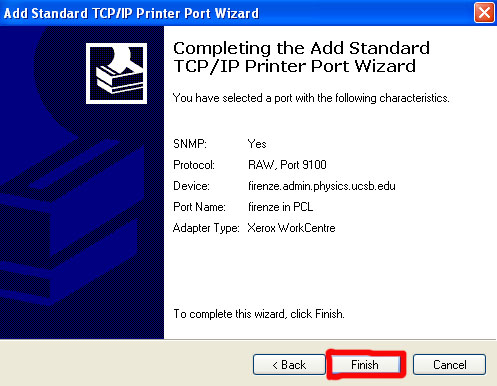
Then click the finsih button
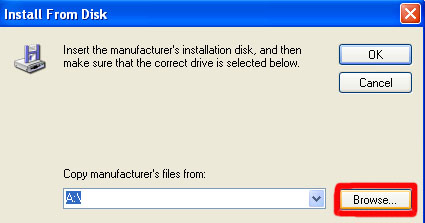
Then click on the have disk button
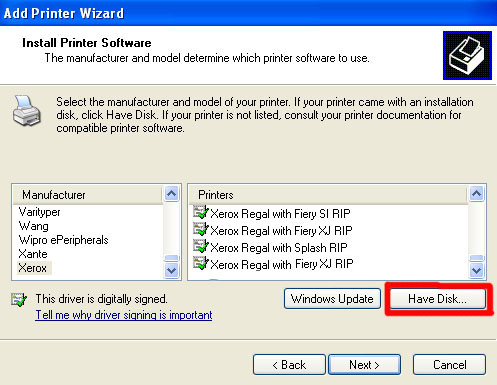
then browser to the folder you extracted the drivers to.
Click on the next button once you have selected the Xerox Workcentre 4150 PCL6 driver.
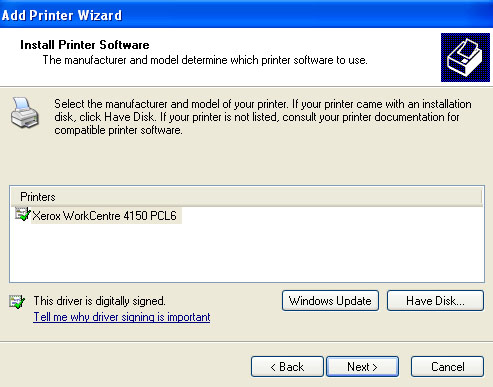
If prompted say you want to Replace existing driver and click the next button
Change the Printer name to Firenze in PCL
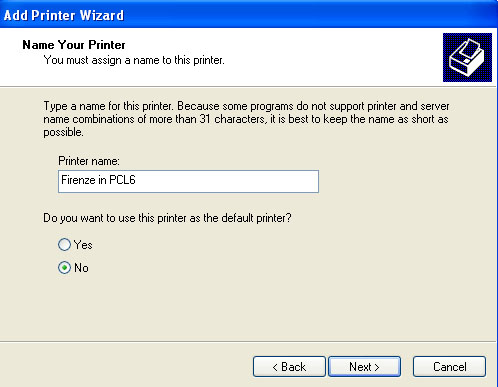
Make sure that you say you do not want to share this printer
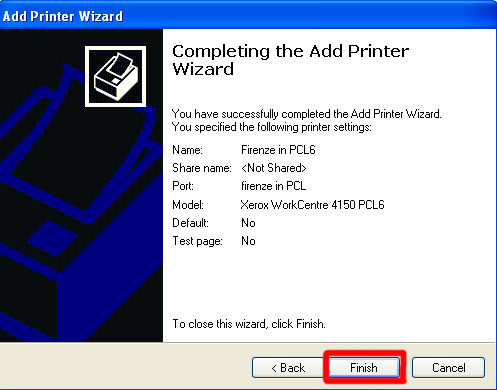
Say no to printing a test page.
Then click the finish button.
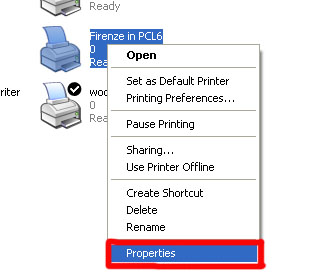
Right click on the new printer named Firenze in PCL and left click on Properties
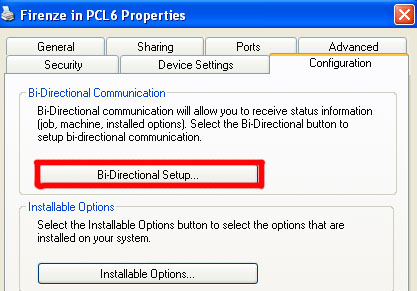
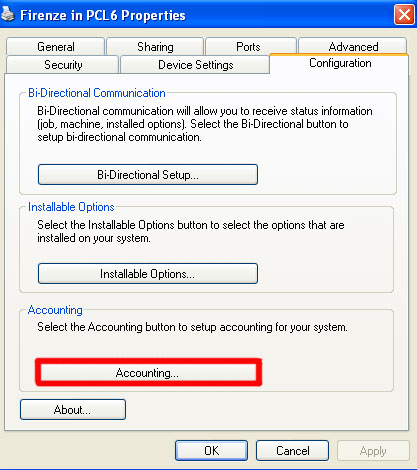
Click on the Configuration tab and then click on the Bi-Directional Setup button
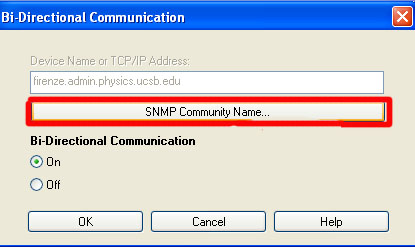
Click on the SNMP Community Name button and under Read type in public
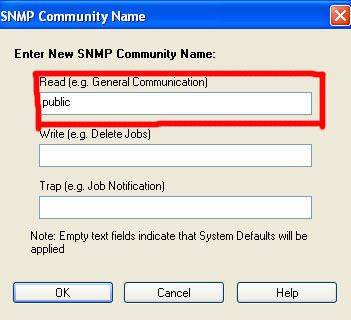
Click ok to close the SNMP comunity window and then click ok again to close the Bi-Directional setup window.
Now click on the Accounting button.
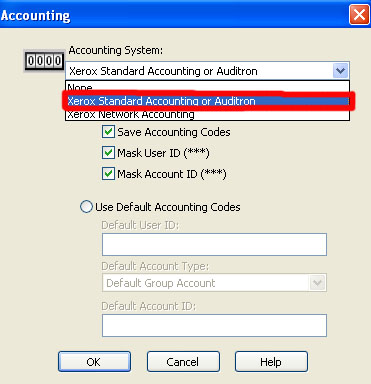
Under Accounting System open the drop down menu and select Xerox Standard Accounting or Auditron
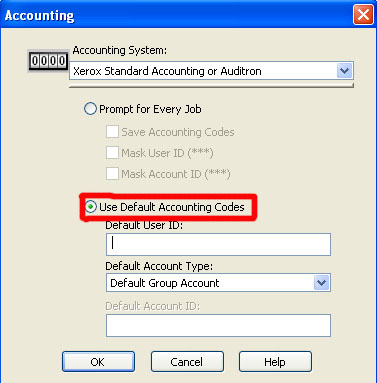
If you are the only user on this computer and you are only using one account code then you can check the Use Default Accounting Codes and fill out your default user id.
NOTE: If you have more than 1 funding source call pcs for further instructions
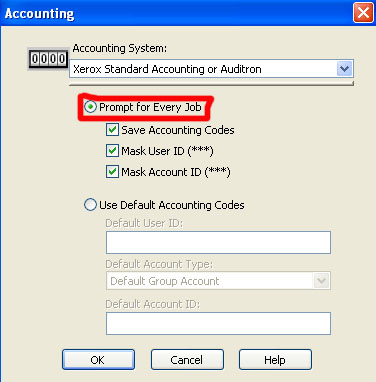
If you are not the only user on the machine or you use different
accounting codes then you do not have to change any of the defaults and
you will be prompted for your user id when ever you try to print to
Firenze.
 Click ok and close the Properties window.
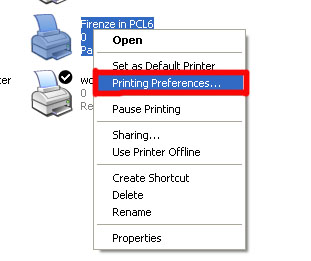
Right click on Firenze and left click on Printing Preferences
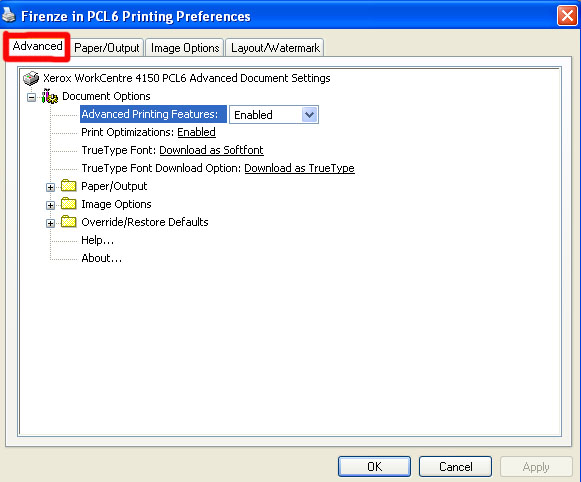
Click on the advanced tab
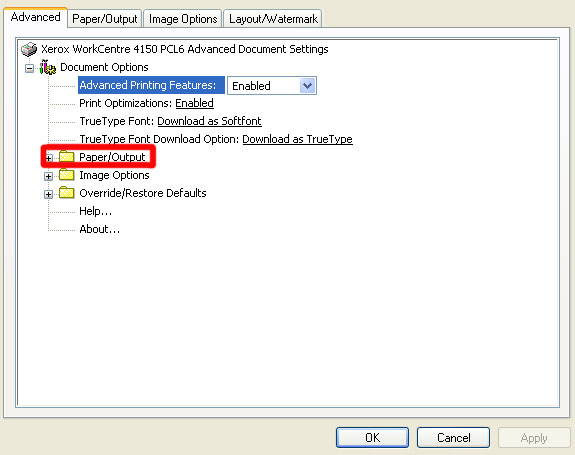
Expand the Paper/Output folder
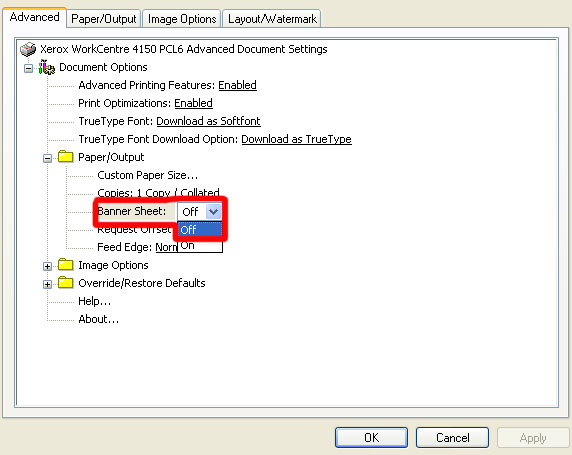
Open the drop down menu for banner sheet and click off
Now click on the Paper/Output tab
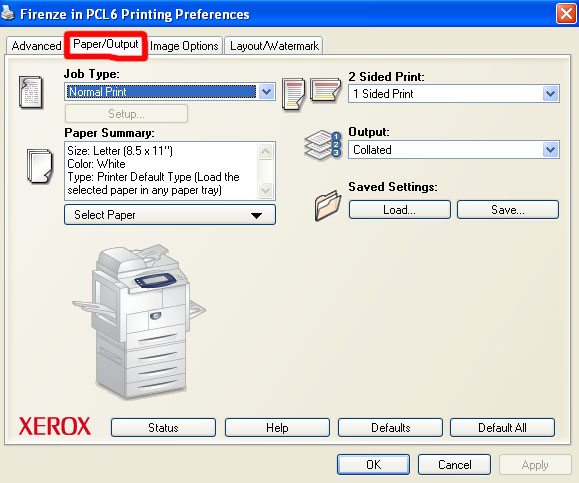
In the top right hand corner of the window there is a drop down menu under the words 2 sided print
If you would like your documents to print double sided by default click 2 sided print in the drop down menu.
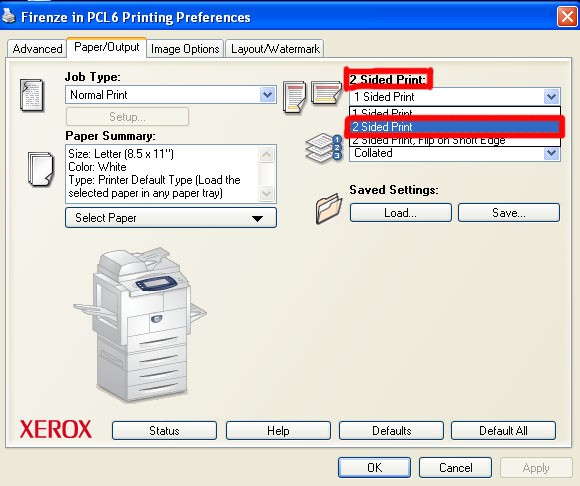
You can now click apply and then click ok to save these settings
Then click on the Output/Stapling pull down menu.
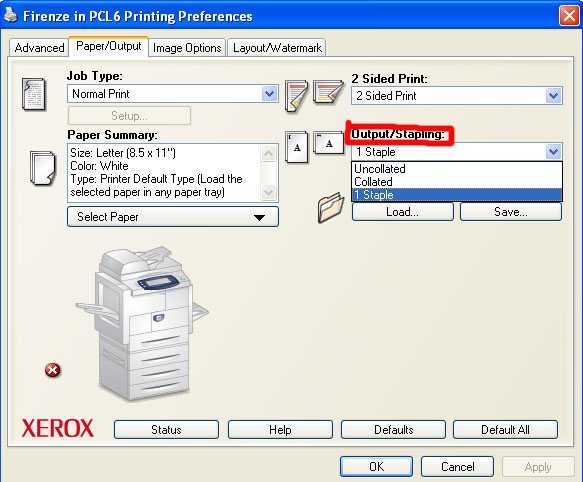
This is where you have the option of setting the printer to staple yoour documents together for you.
That is all you need to do to setup the printer you are now able to print.